Installing the MPLAB® XC8 Compiler

Choose your operating system from the tabs below:

1

Run Installer

WinInstall.png
Go to the location where you downloaded the installer. Unzip the downloaded file and run the installer:
xc8-vX.XX-windows-installer.exe.

Depending on your Windows security settings, you may get a window asking if you are sure you want to run this program. Answer Yes.

2

Setup

Click Next >

install1w.png
Click image to enlarge.

3

Accept License Agreement

Click on the radio button next to I accept the agreement.

Click Next >

install2w.png
Click image to enlarge.

4

Choose Installer

If you are installing the compiler for use on your machine only, click on the radio button next to Install compiler.

If you have a network license and are installing on a server, click on the radio button next to Install the Network License Server.

Click Next >

install3w.png
Click image to enlarge.

5

Installation Type

If you selected a network license server, provide the name of the network license server.

Click Next >

install4w.png
Click image to enlarge.

6

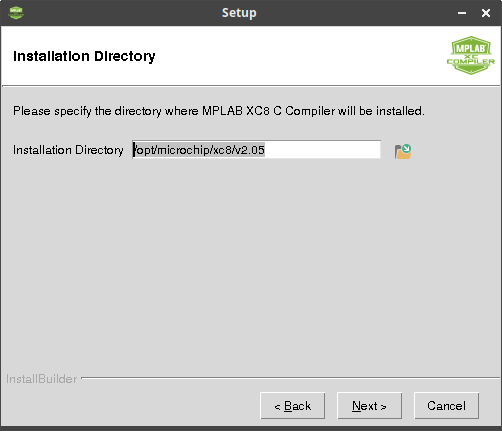
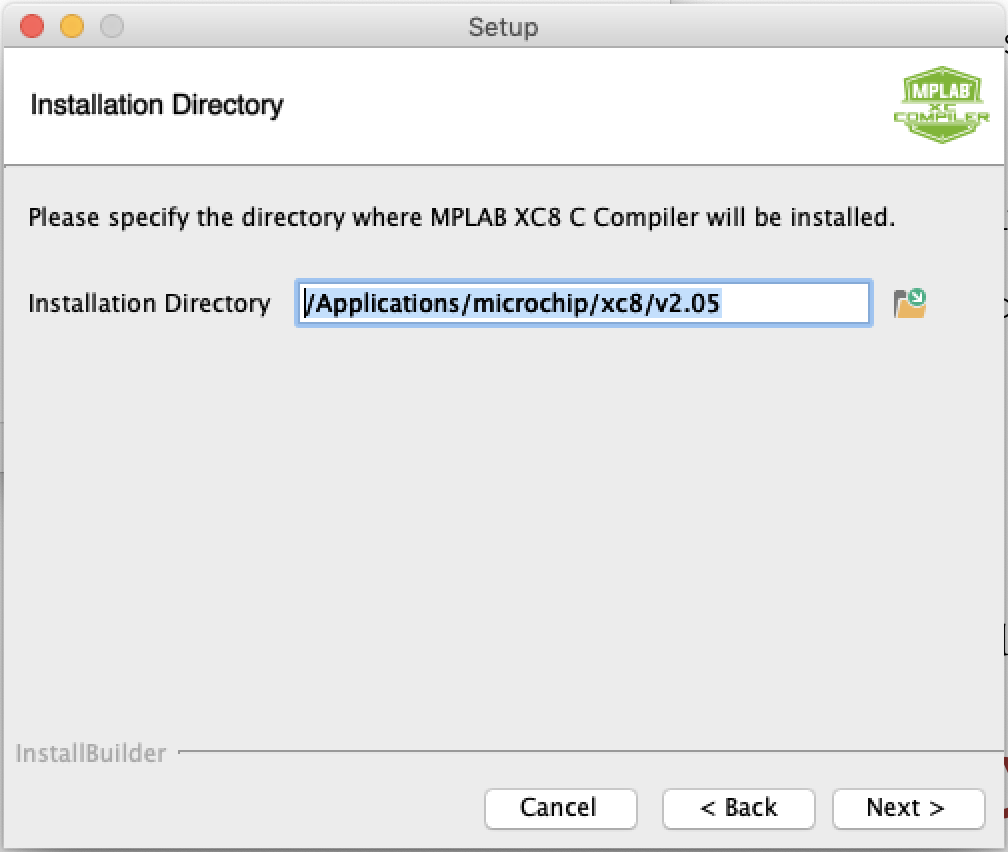
Installation Directory

Use the default installation location or choose a different one, if you prefer.

Click Next >

install5w.png
Click image to enlarge.

7

Compiler Settings

  • Apply settings to all users of this machine
    • Leave checked or uncheck if required in your environment.
  • Add xc8 to the PATH environment variable
    • Not generally required unless you plan to use XC8 from the command line (terminal or script).


Click Next >

install6w.png
Click image to enlarge.

8

Ready to Install Compiler

Click Next >

install7w.png
Click image to enlarge.

9

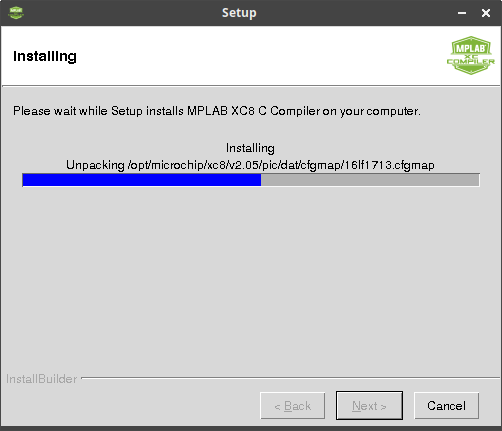
Setup

Wait while the installer unpacks and installs all the files.

install8w.png
Click image to enlarge.

10

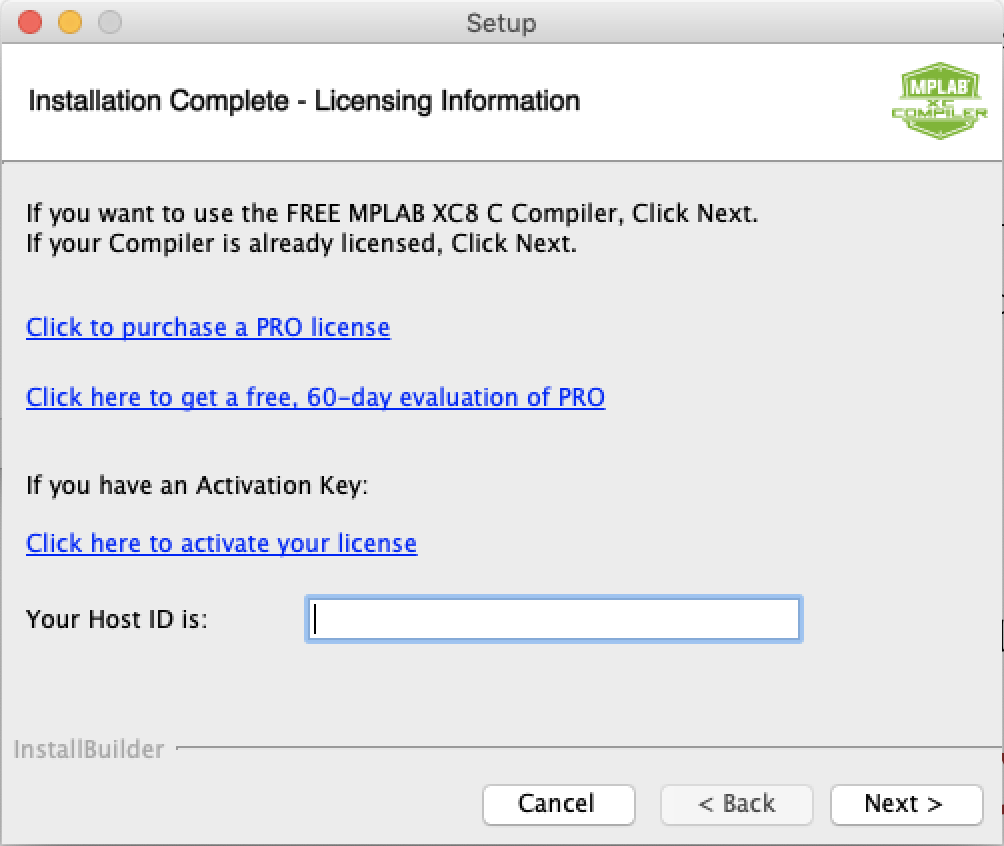
Licensing Information

Click Next > if you:

  • Have activated a license on a previous version of MPLAB XC8.
  • Wish to use the free version of the compiler (some optimization features disabled).


Otherwise, choose to:

  • Purchase a license (to receive an activation key that will unlock the Standard or Pro optimization features).
  • Use the Pro evaluation version (reverts to free version after 60 days).
  • Provide an activation key.


Click Next >

install9w.png
Click image to enlarge.

11

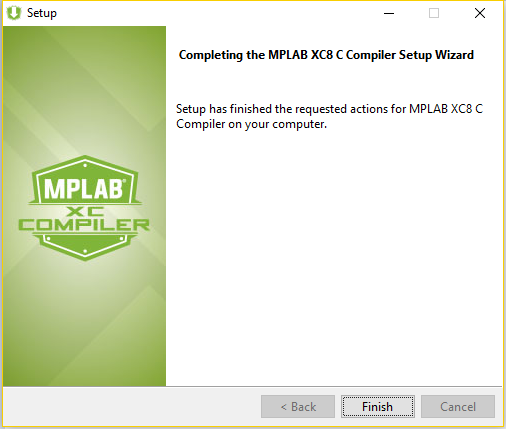
Installation Complete

Click Finish

install10w.png
Click image to enlarge.
© 2024 Microchip Technology, Inc.
Notice: ARM and Cortex are the registered trademarks of ARM Limited in the EU and other countries.
Information contained on this site regarding device applications and the like is provided only for your convenience and may be superseded by updates. It is your responsibility to ensure that your application meets with your specifications. MICROCHIP MAKES NO REPRESENTATIONS OR WARRANTIES OF ANY KIND WHETHER EXPRESS OR IMPLIED, WRITTEN OR ORAL, STATUTORY OR OTHERWISE, RELATED TO THE INFORMATION, INCLUDING BUT NOT LIMITED TO ITS CONDITION, QUALITY, PERFORMANCE, MERCHANTABILITY OR FITNESS FOR PURPOSE. Microchip disclaims all liability arising from this information and its use. Use of Microchip devices in life support and/or safety applications is entirely at the buyer's risk, and the buyer agrees to defend, indemnify and hold harmless Microchip from any and all damages, claims, suits, or expenses resulting from such use. No licenses are conveyed, implicitly or otherwise, under any Microchip intellectual property rights.